
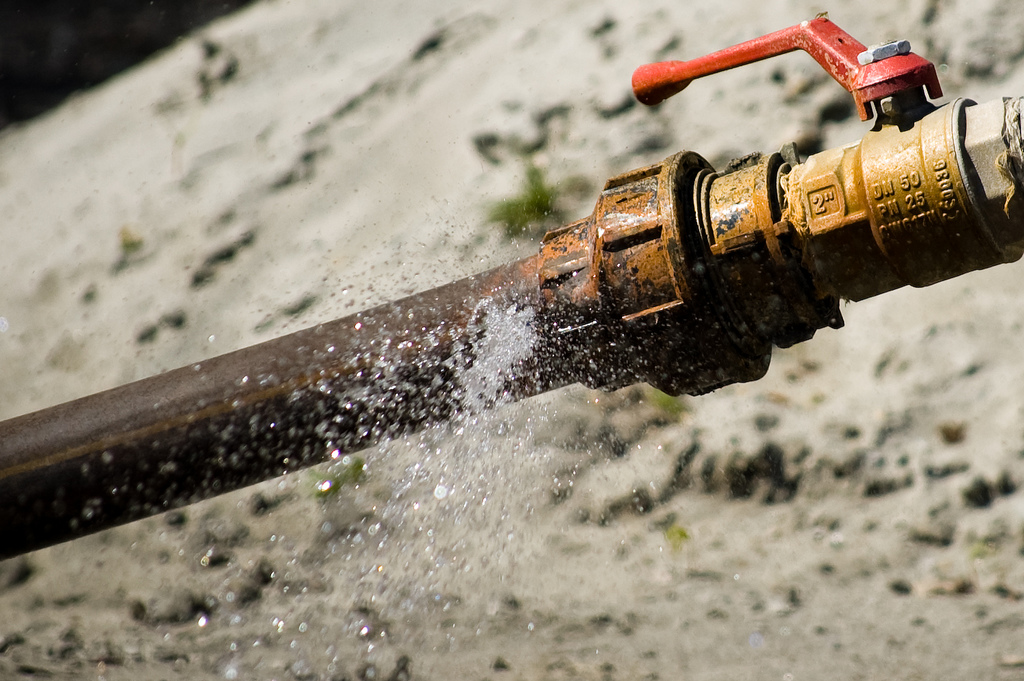
Pipe leaks can cause serious damage to your home. If you notice discolored water, rust stains, or other signs of a leaky pipe, call Apex Plumbing right away.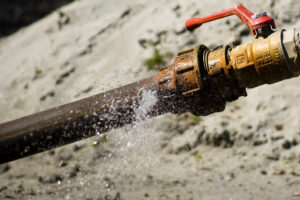
Before attempting any repair, shut off the water supply valve and dry the area around the leak. Afterwards, follow the instructions on the product you choose for a quick, inexpensive fix.
There are different kinds of pipe leak tapes available, and each is designed to suit a particular situation. Pipe thread tape is best for repairing threaded pipe joints, while silicone tape works well on non-joint leaks. Silicone tape is also very flexible, and it can withstand extreme temperatures. In addition, it is flame-retardant, which makes it safer to use than other types of plumbing tape.
Depending on the type of leak, it may be necessary to shut off water pressure before using any type of repair tape. This will make it easier to locate the leak and ensure that the repair is permanent. Afterward, you can turn the water back on and test the repair. If it is not effective, you should call a professional plumber to fix the problem.
Before attempting a leak repair, it is important to note that basic waterproof tapes are not effective on live leaks. They are only intended to prevent further damage from the leak, and they should not be used on a live leak. To make sure that your waterproof tape will work, you should dry the area around the leak and apply it tightly. You should also overlap the tape several times to create a watertight seal.
Rescue Tape is the world’s most versatile and easy-to-use quik-fix emergency rescue and repair tape for pipes, hoses, and cables. It is used in a variety of industries and environments, including military applications. Its self-fusing silicone rubber provides a quick and permanent fix for leaks, and it is resistant to fuels, oils, acids, solvents, salt water, and road salts.
The first step in repairing a leaky pipe is to remove the old tape and dry the area around the leak. This will help the new tape adhere to the surface. You should also cut off the end of the pipe near the leak to remove any contaminants that might be causing it to corrode.
Alternatively, you can use Wrap & Seal, which is an elastic and waterproof pipe repair material that is safe to use on drinking water pipes. It is easy to use and doesn’t require any prior training. It can be used on pipes made of copper, uPVC plastic, steel, malleable iron, GRP, ceramic, concrete, and more. Wrap & Seal is available in a wide range of colors, and it can be overwrapped with Sylmasta HD pipe repair bandage for additional reinforcement and to provide a rock-hard impact resistance layer. It is WRAS-approved and meets British standards for potable water.
Hose clamps
Hose clamps are a great way to keep water pipes secure. They are also inexpensive and easy to find. They can be used for a wide range of applications, including repairing leaks in a home or garden. However, installing a hose clamp correctly is important. The hose should be pushed onto the barbed fitting, and then the clamp should be slid over it, with between one-quarter and three-eighths of an inch showing between the clamp and the hose. There are a variety of different types of hose clamps available, and each has a specific purpose. For example, screw clamps are designed to be used on hoses with a diameter of 1/2 inch and up, while single or double clips with ears are best for small diameters.
Typically, a hose clamp is made of metal or stainless steel. It may have a perforated band, or it may be embossed. The latter is better because holes can reduce the strength of the clamp and offer a place for corrosion to start. Some hose clamps are even available in plastic, although they should be avoided unless they are specifically needed for a specific task.
The main function of a hose clamp is to keep the hose securely fixed to a barbed fitting. It can be tightened with a screwdriver or a ratchet. Some hose clamps can be tightened by hand, while others require the use of a wrench or socket. It is important to choose the right size hose clamp for your job because a too-tight clamp can damage either the hose or the connecting part.
There are several kinds of hose clamps, and each has its own benefits and drawbacks. For instance, worm gear hose clamps are a popular choice because they are durable and easily tightened. They get their name from the worm-drive mechanism that pulls threads in a manner similar to a worm’s, which tightens the band around the hose. Another type is a T-bar clamp, which features a threaded stud and cross piece on one end attached via a swivel to the band. The other end passes through a separate bar attached to the swivel, and tightening the nut on the stud forces the two T pieces toward each other to tighten the clamp.
Slip coupling
A slip coupling is a type of pipe repair fitting that can be used to replace an existing damaged section of pipe. These fittings are designed to be slipped over the damaged portion of the pipe and secured with a compression nut. This simple process is a quick and inexpensive solution for water pipe leaks. It can also be used for other types of pipes, including metal and plastic, but is not suitable for use with gas lines.
Before attempting to make a slip-coupling water pipe repair, it is important to turn off the water supply to the area of the leak. You should also clean the area around the leak and remove any debris or dirt. The next step is to lightly sand both sides of the pipe and the slip coupling to create a smooth surface. This will help the epoxy adhere to the pipe and ensure that the seal is watertight.
For a permanent solution, you can use repair epoxy, which comes in the form of putty or liquid. This product can be applied to PVC pipe and joints to repair cracks or holes. It is best for repairing small-diameter PVC pipes and should be mixed according to the manufacturer’s instructions. You should also allow the epoxy to cure for about ten minutes. If possible, it is a good idea to use a UV light to speed up the curing process.
Another option is to use rubber and silicone repair tape, which comes in a roll that can be wrapped directly around the pipe. This is a cheaper alternative to epoxy and can be used on both PVC and copper pipes. In order to use this method, you should first clean the damaged area of the pipe and lightly sand it before wrapping it with the repair tape.
If you have a water leak in your home, you may be wondering how to fix it. There are several ways to do this, but they all require shutting off the water supply before working on it. This way, you can avoid any major damage, which will save you money in the long run.
Epoxy putty
Epoxy putty is a powerful adhesive and a useful tool for water pipe repair. It can be shaped, molded, and sculpted, making it perfect for use on a variety of surfaces. It can also be drilled, sawed, and cut, and it is highly resistant to water and chemicals. It is one of the easiest repair compounds to work with, and it can be used in almost any application.
Before using epoxy putty, be sure to turn off the water supply at the main valve. This will prevent further leaks and allow you to apply the epoxy more effectively. The putty needs to cure, so be sure to turn the water back on after a few hours. This will ensure that the putty has had enough time to harden and seal the leak.
Depending on the type of putty you use, the curing process can take as little as five minutes or up to two hours. This makes it a great option for quick repairs to small leaks and cracks in pipes. Epoxy putty is also ideal for repairing damaged pipe joints and is able to withstand temperature changes.
For more extensive leak sealing and damage repair, a more permanent solution is an epoxy pipe liner. This is a pipe liner that fits inside the host pipe and adheres to its internal walls. The host pipe must be thoroughly cleaned of corrosion, residue, and other debris before a liner can be installed.
Before putting on the epoxy, you should use a sanding cloth to rough up the area and ensure that it is free of moisture and dirt. This will ensure that the epoxy sticks to a smooth surface and has good adhesion. It is also important to wear latex gloves when applying the putty.
There are several different types of epoxy putties available, but it is best to choose a WRAS-approved putty for domestic plumbing. This will ensure that the epoxy is safe to use in the water pipes that supply drinking water. Using unapproved epoxy could result in contamination of the water, and this is definitely not something you want!